
Generally found in Chinese bakeries rather than dim sum house, these buns get their name from pineapple skin-shaped patterns on the topping. The buns consist of two parts, a soft sweetened bread roll wrapped by a crunchy topping composed of sugar, butter and flour. There are very similar Japanese Melon Pan buns, which are in turn variations on Mexican concha buns. It’s a small world, after all.
Makes 12 pieces
MAIN DOUGH for the soft bread roll
- 400g bread flour
- 30g white sugar
- 1 and 1/2 teaspoon dry yeast
- 15g milk powder
- 1 large egg (about 60g)
- 200g water
- 40g unsalted butter, softened
- 1 tsp salt
BISCUIT DOUGH for the crunchy topping
- 70g unsalted butter
- 50g powder sugar
- 1 large egg (about 60g), beaten, (1/2 + 1/2). half for the dough, 1/2 for biscuit dough
- 150g cake flour
- ½ teaspoon baking powder
Toppings
- 2 tablespoons white sugar
Method
Step 1 Making the Main Dough
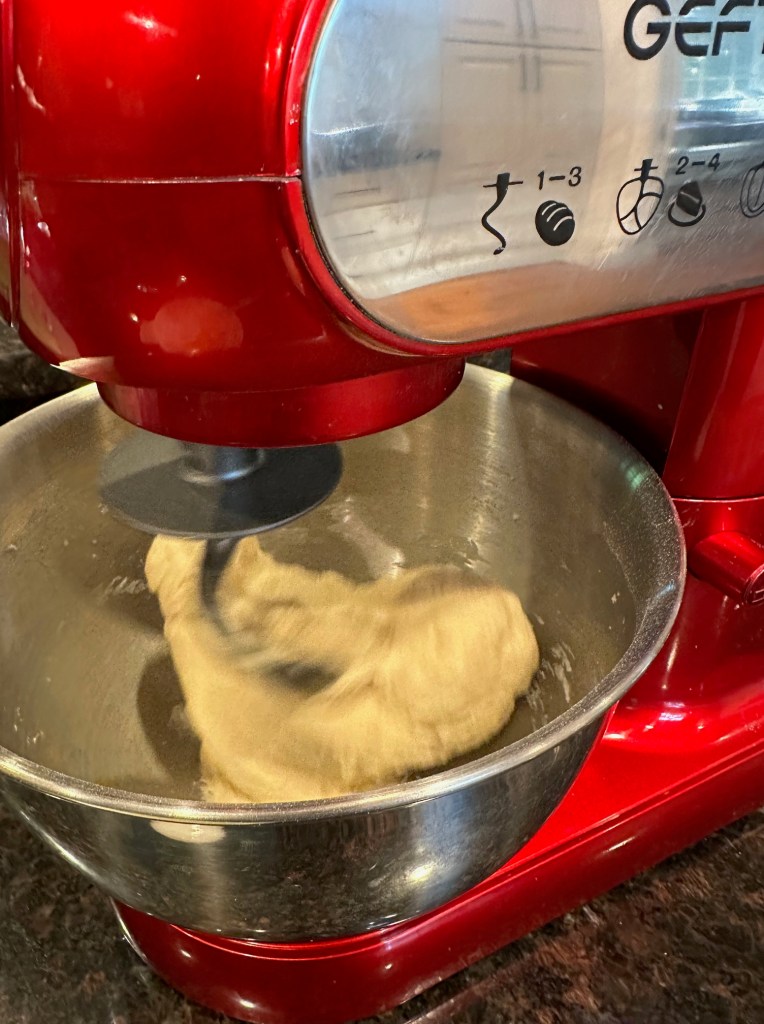
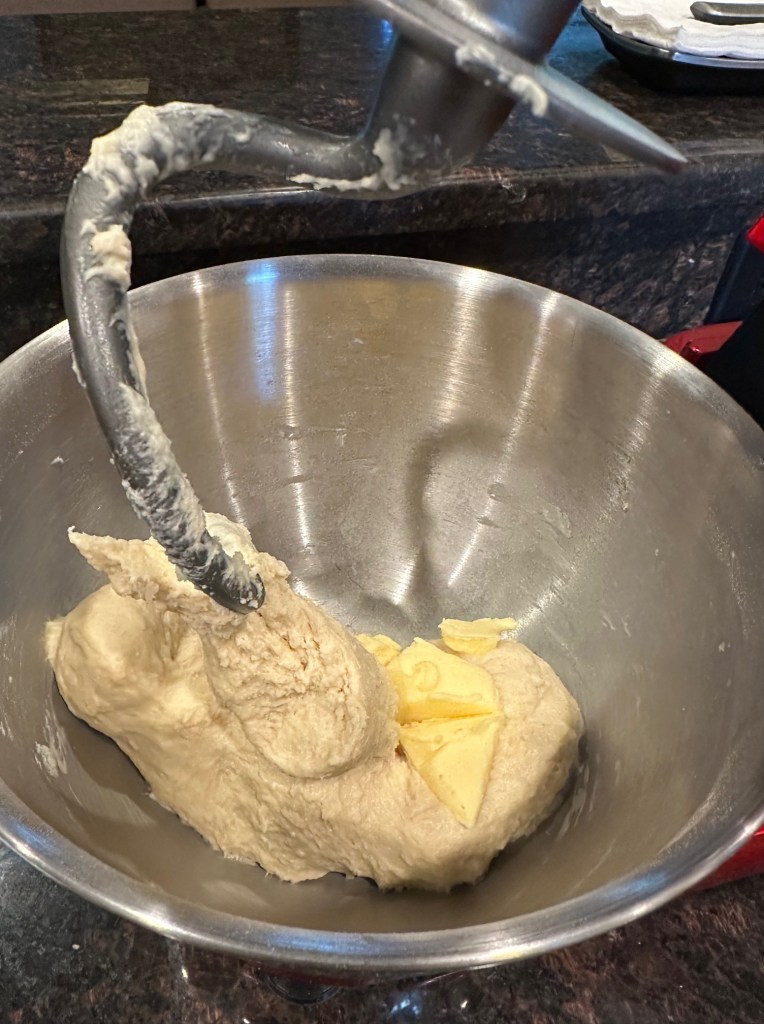
- In a bowl of the standmixer, add all the ingredients of 400g bread flour, 30g white sugar, 15g milk powder and 1 and ¼ teaspoons of yeast. Add wet ingredients of 1 large egg, 200g water. Speed 3 for 3-4 minutes till well combined. Add softened butter and salt. Speed 4 for 2-3 minutes. Then move to speed 5-6 for another 3-4 minutes till window pane formed.
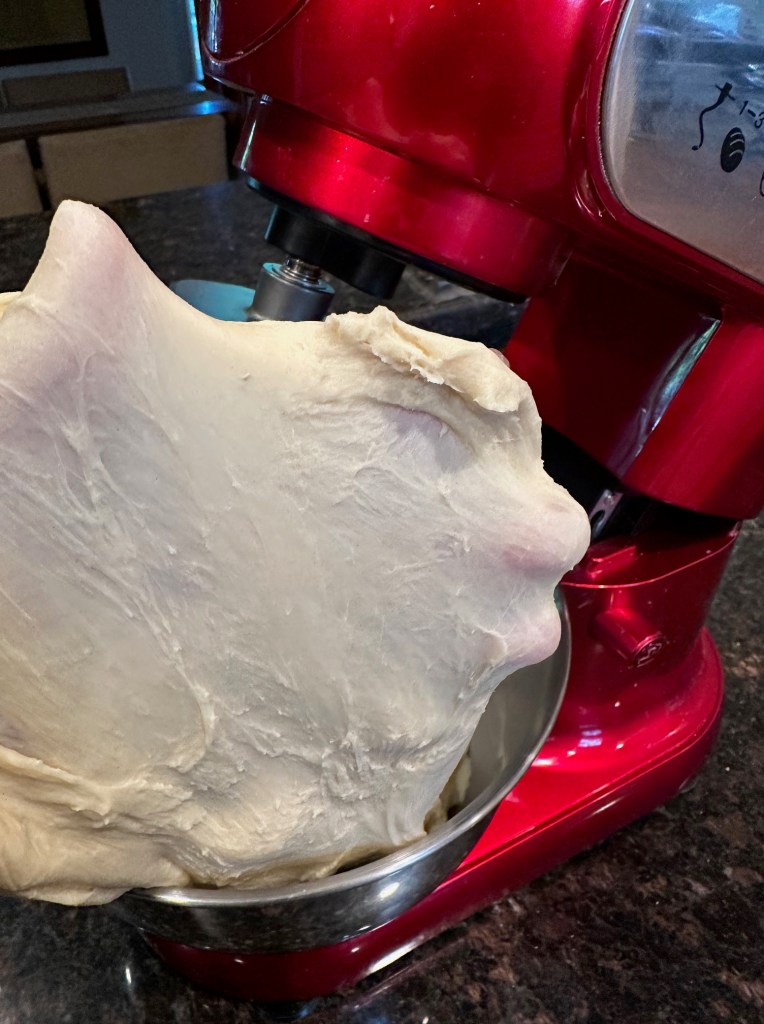
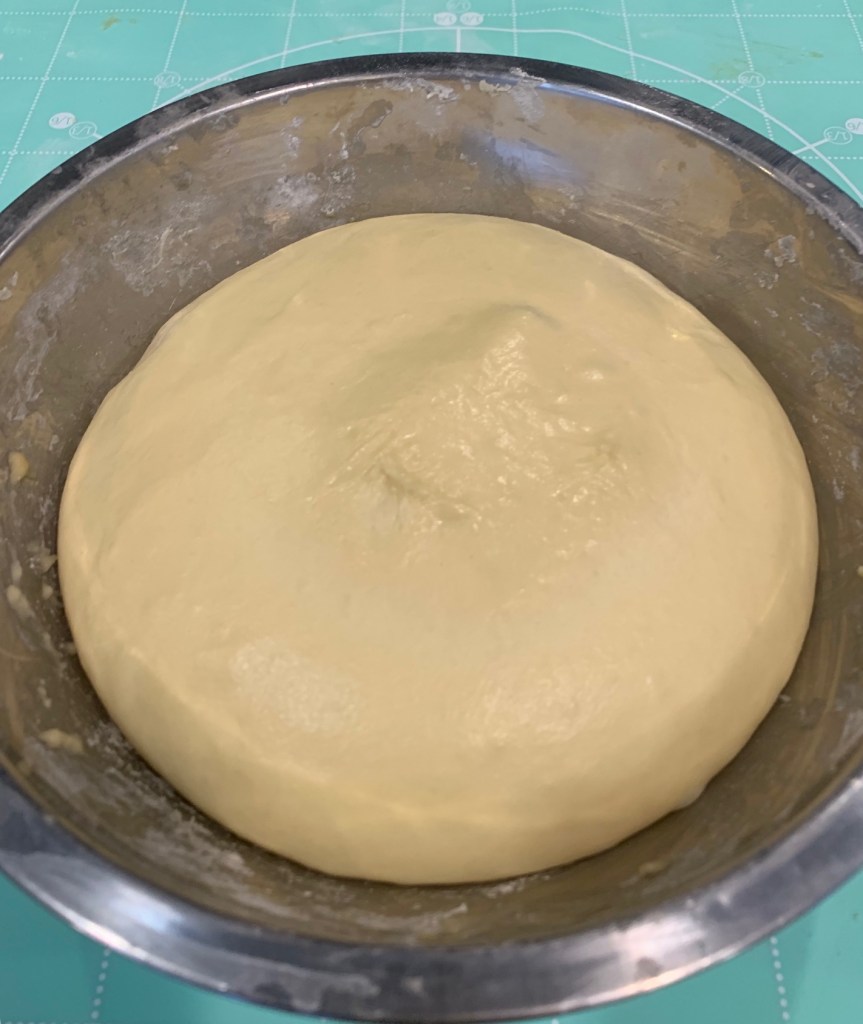
- Shape the dough into a ball by pulling all sides of the ball to the bottom and pinching them together. Place the dough in a bowl (the seam on the bottom). Cover the bowl with a plastic wrap and let the dough rise in a warm place until the dough has doubled in size, about 1-2 hours. I use a Proof setting (100ºF/38ºC) in my oven.

Step 2 Making the Biscuit Dough
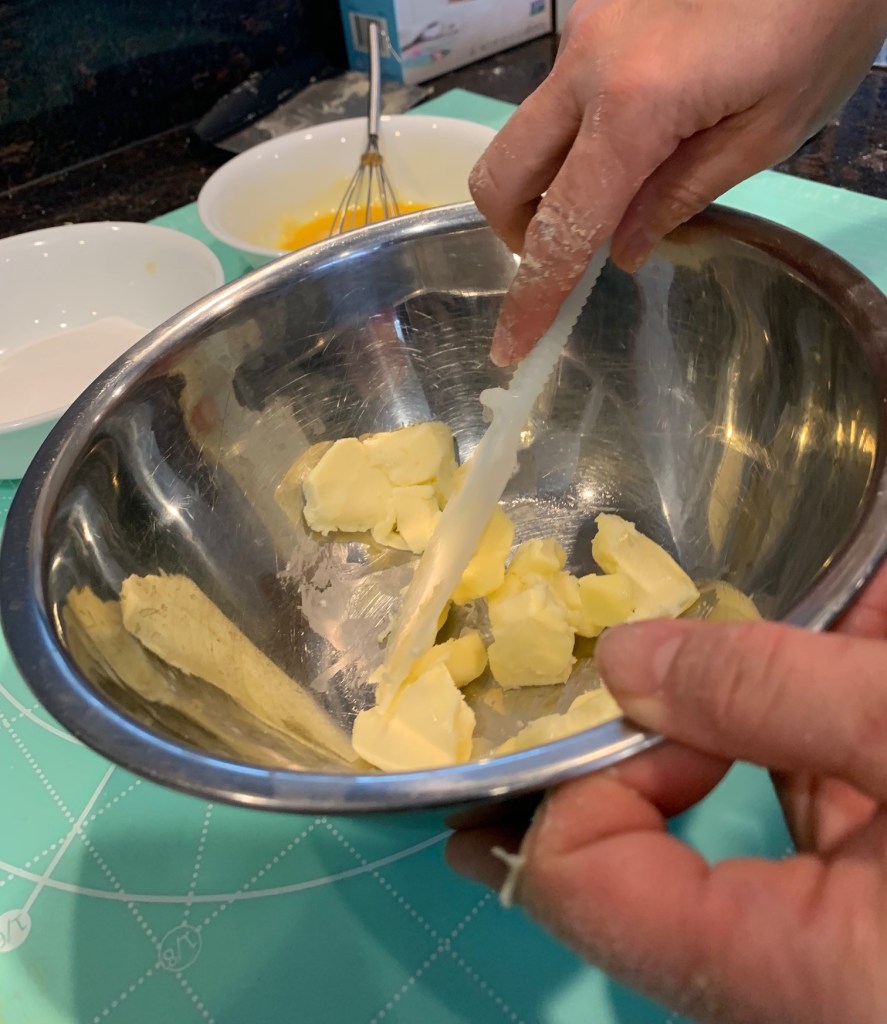
- In a large bowl, add 70g butter and mix with the spatula until it becomes smooth. Add 50g powder sugar and mix with the spatula until they blend well together.

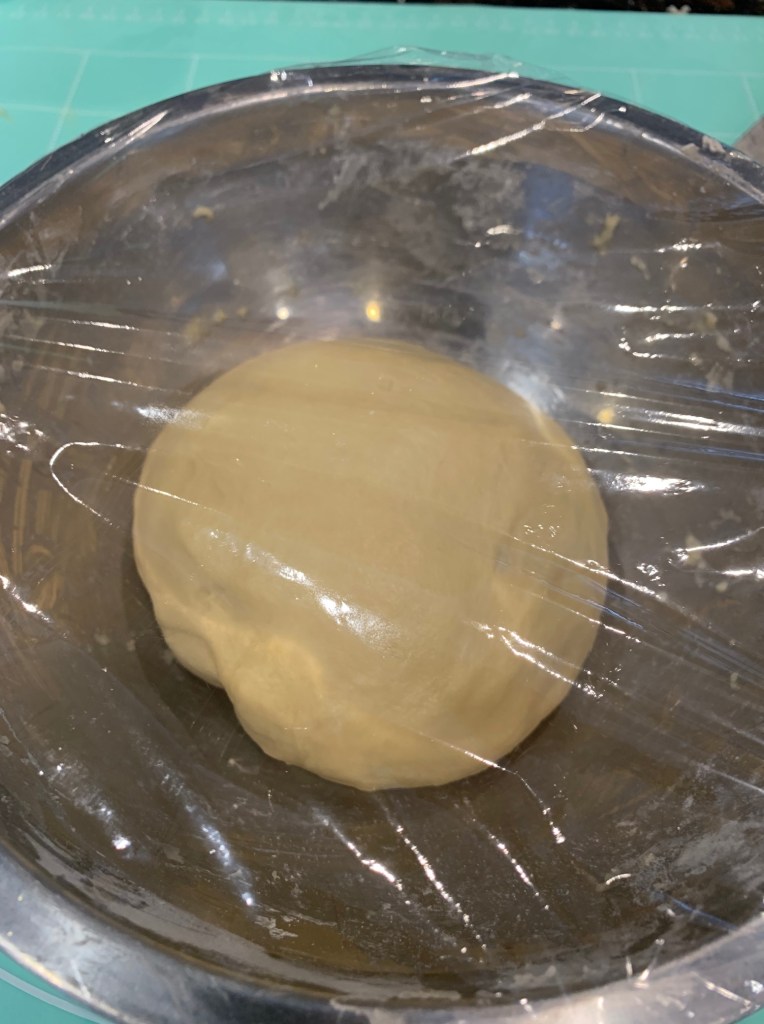
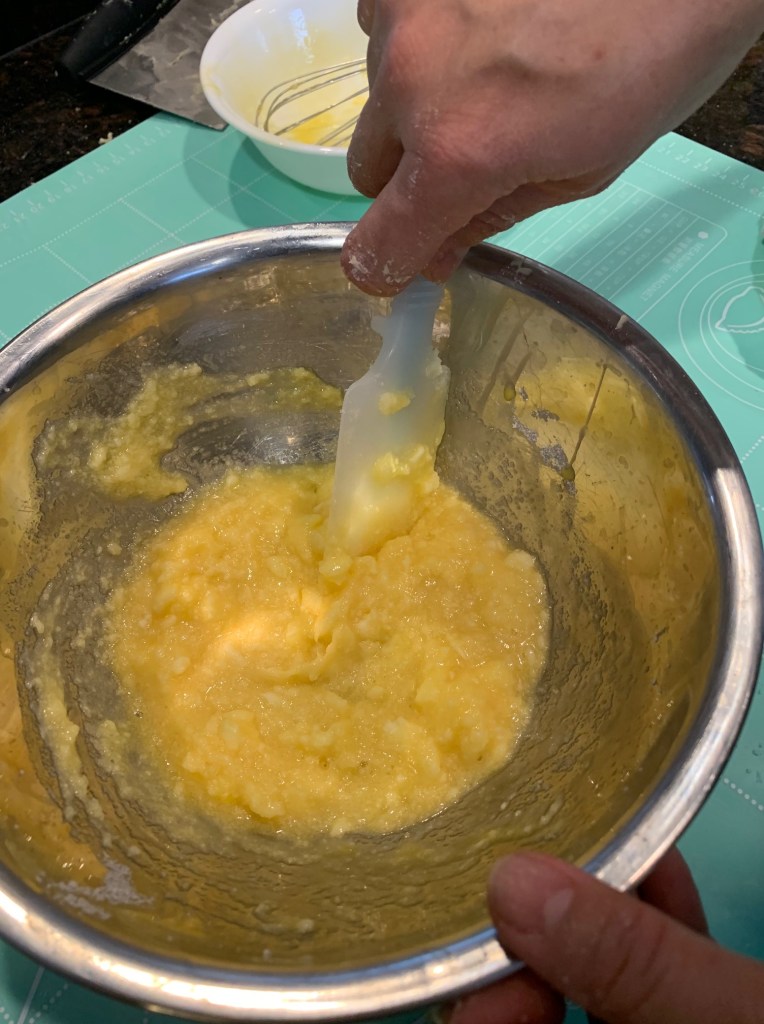
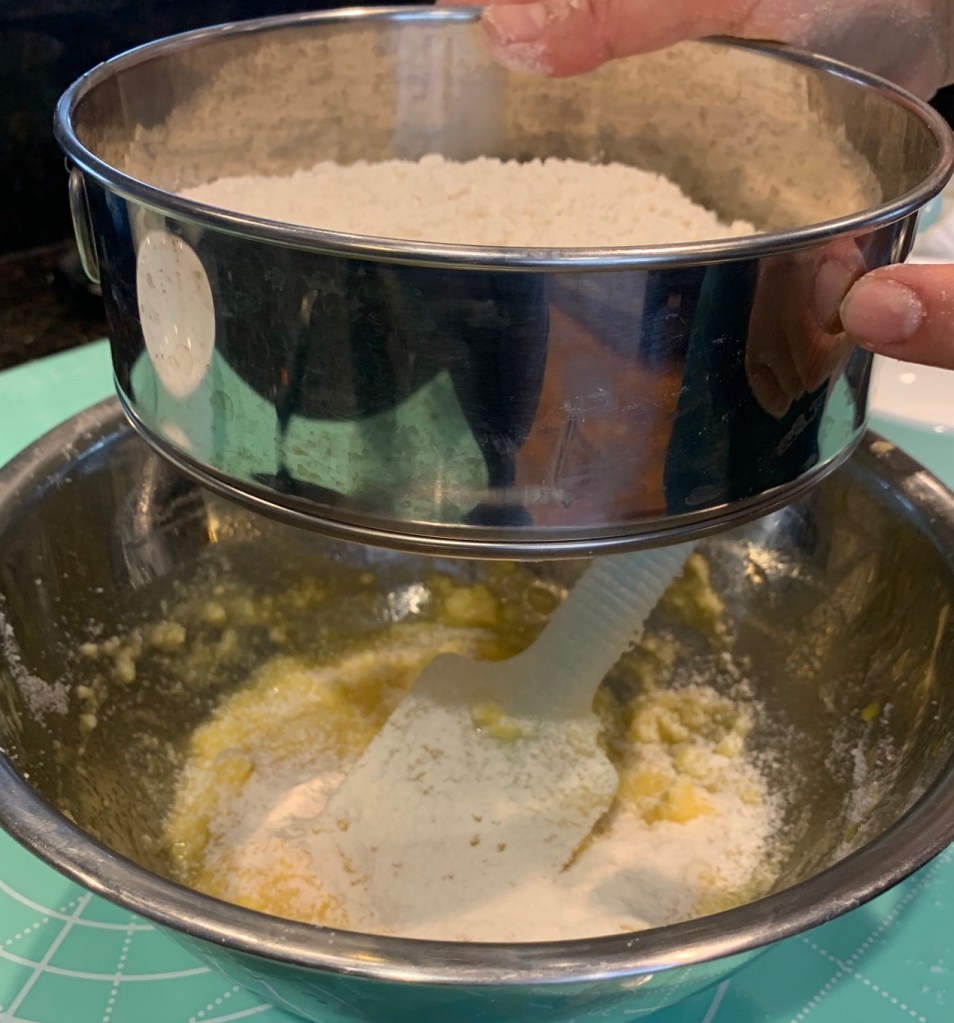
- Slowly add a very small amount of 1 large beaten egg into the bowl and blend well together before you add another small amount of the egg. Continue until 1/2 of the egg is well blended. Sift 150g cake flour and ½ teaspoon baking powder into the mixture. Using the spatula, mix well until the dough is not floury. Collect the dough and make it into a ball.

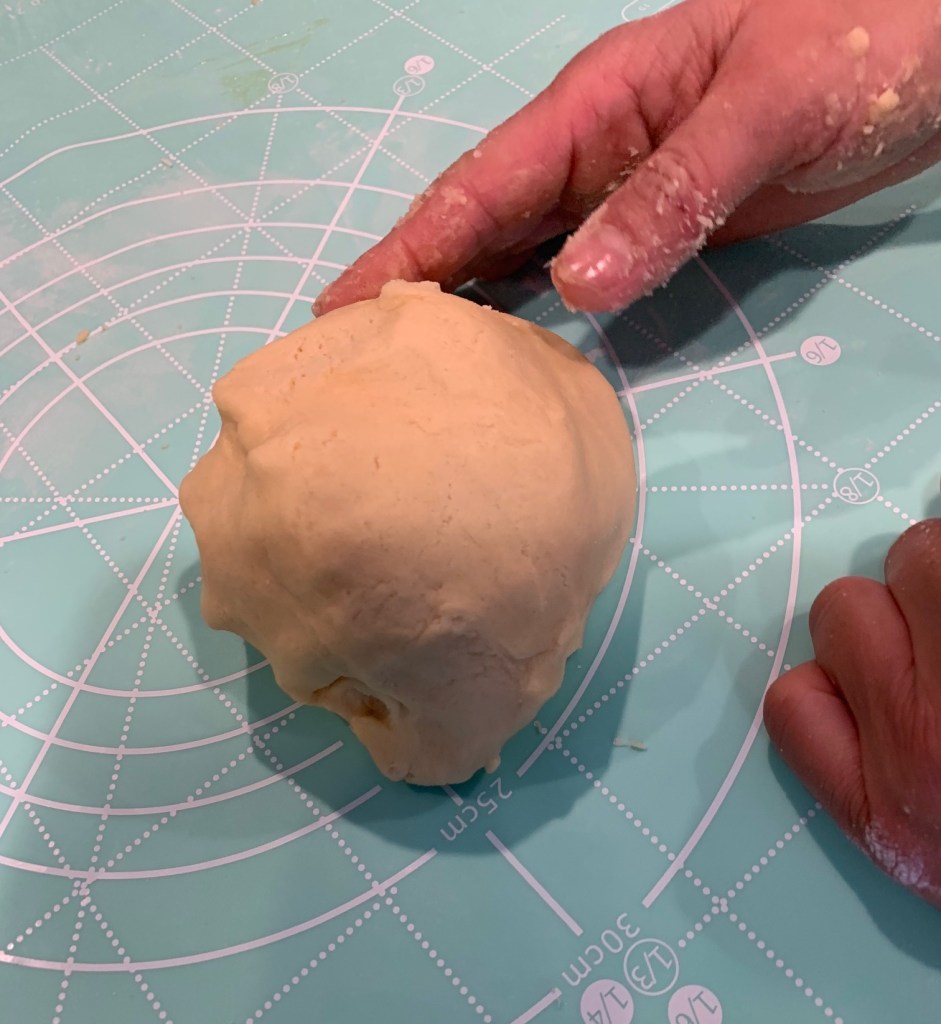
- Roughly cut the dough into 12 pieces. Starting from the big piece, measure the weight again till it weighs 1/12 of the total weight (in my case, 25 g). If it’s heavier, pinch off the dough and add the extra dough to a smaller dough, by stuffing the extra into the inside of the smaller dough. Roll the 12 pieces of biscuit dough into 12 balls. Place them on a baking sheet lined with a silicone baking mat or baking sheet. Cover with plastic wrap and rest in the refrigerator for 10 minutes until it hardens a bit.

- Once the dough has doubled in size, dust your index finger with flour and put it in the center of the dough. If the hole doesn’t close, then the dough is ready for the next step. Remove the dough with a silicone dough scraper and transfer to a lightly floured work surface. Press the dough with your hands to release gas in the dough and deflate.

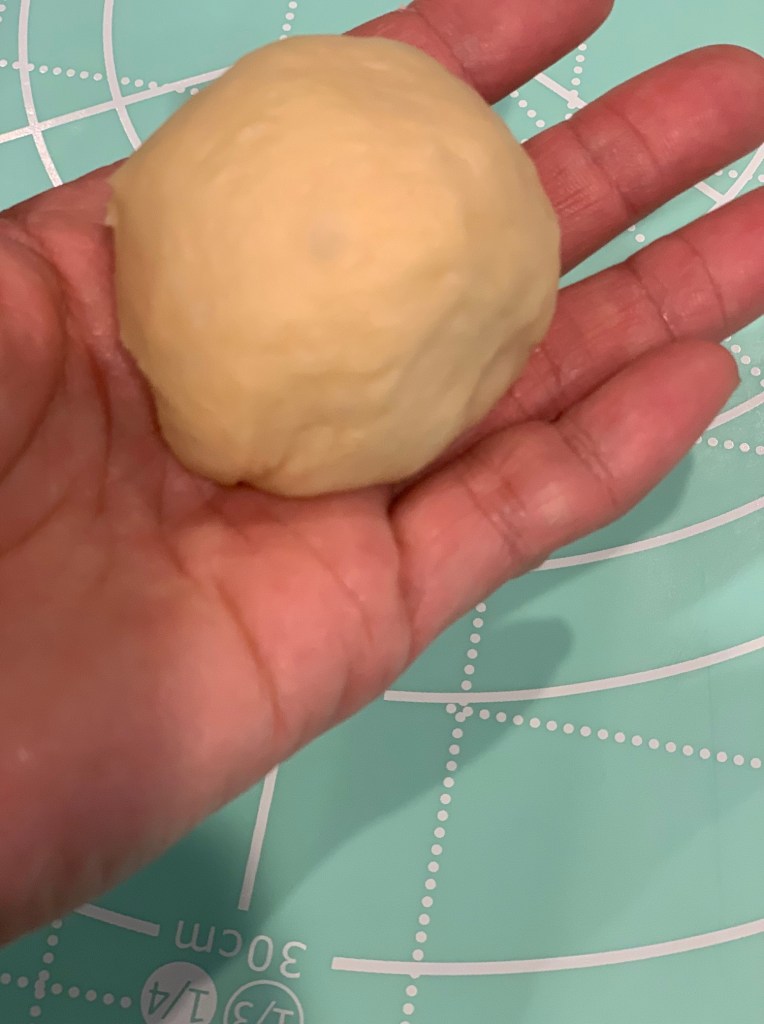
- Using a dough scraper, roughly cut the dough into 12 equal pieces. Starting from the big piece, measure the weight again till it weighs 1/12 of the total weight (in my case, about 60g). If it’s heavier, pinch off the dough from the center and add the extra dough to a smaller dough, by stuffing the extra into the inside of the smaller dough. Knead to combine well. Shape each dough piece into a nice round ball, pulling from all the sides and tuck into the bottom. Place the dough on your left (right) palm, and rotate it with your right (left) hand, keeping the seam side on the bottom.
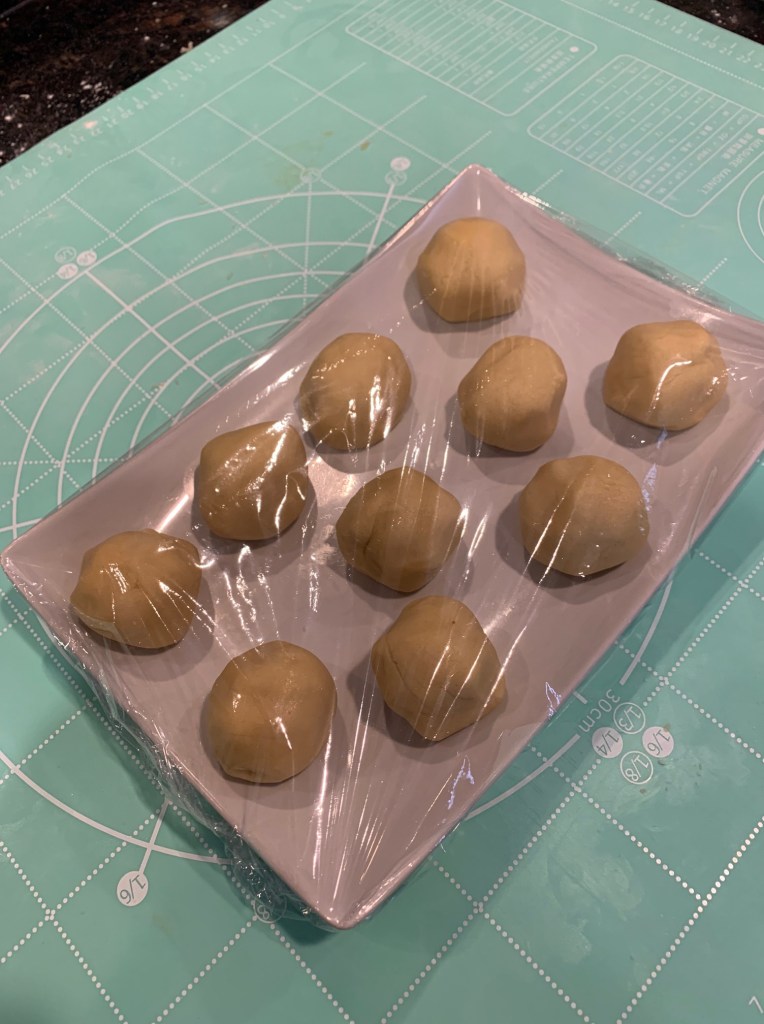
- Put the dough on a baking sheet lined with parchment paper or a silicone baking mat. Cover the dough with plastic wrap or kitchen towel to prevent it from drying. Rest the dough for 15 minutes at room temperature.


- Put the biscuit dough on the lightly floured work surface and flatten the dough with your hand. Using a rolling pin, roll out into 4 inch (10-12 cm) flat rounds. Continue the rest until the main dough is ready.

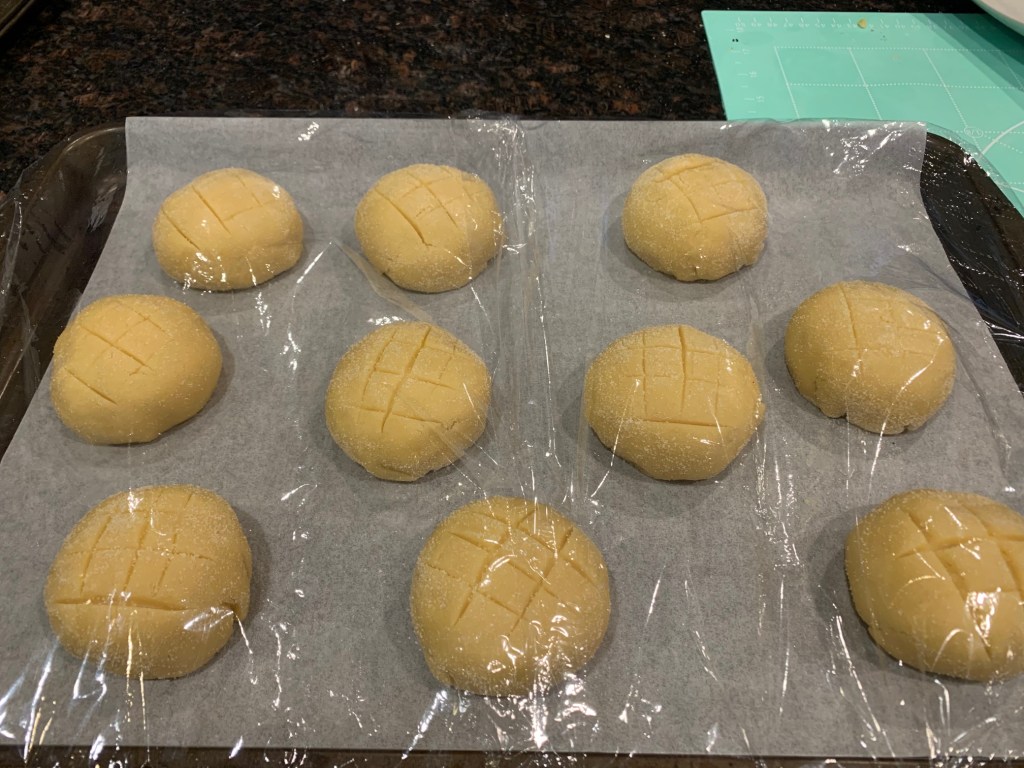
- Place the biscuit dough on your palm and put the main dough in the middle, seam side facing up. Then flip to show the biscuit dough on top. Gently pull all sides of the biscuit dough wrapping around the main dough.


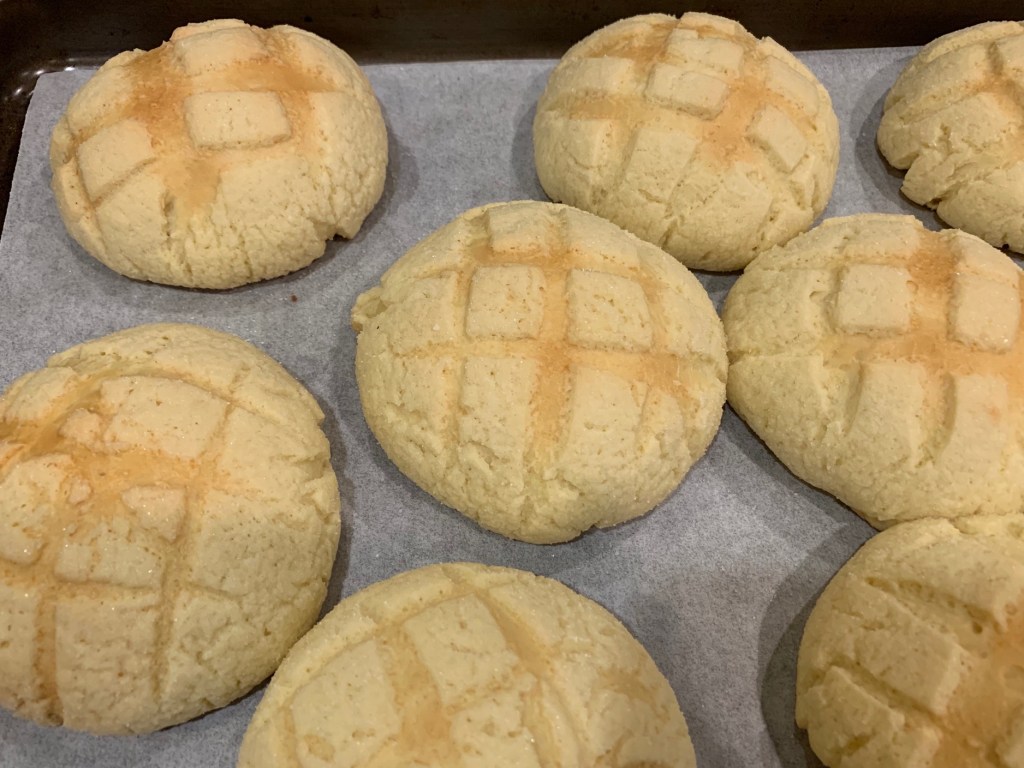
- Coat the biscuit dough with white sugar (2 Tbsp) and remove the excess sugar. Then using a dough scraper or knife, gently score the biscuit dough into a crisscross pattern (I score 3 lines each side). Place the dough on the baking sheet, seam side on the bottom. Cover the dough with plastic wrap to prevent from drying. Let the dough rise in a warm place until the dough rises one and a half or double (1.5 – 2 x) in size, about 50 minutes (I used the Proof setting (100ºF/38ºC) in my oven). Brush with egg once this second proof is done.


- When the dough has risen halfway, preheat the oven to 320ºF (160ºC)..
Step 5 Baking
- Bake at for 20 minutes. Toward the end of baking if you see the bread is not being browning evenly, rotate the bread once so that the bread gets an even color.
- Once the bread is baked, transfer to a wire rack. Let it cool for 5 minutes, and enjoy!


To Store
- Once the bread is cooled completely, individually wrap it in plastic to prevent it from drying. Then put it in an airtight container or bag and refrigerate for up to 3 days, or freeze for up to a month. Defrost overnight in the refrigerator or microwave to warm up inside.
